Costco Cauliflower Crust Pizza Instructions: A Comprehensive Guide
Navigating the world of Costco’s cauliflower crust pizza requires understanding optimal baking techniques. This guide details preparation‚ baking times‚ and troubleshooting for a perfect pizza experience.

Understanding the Costco Cauliflower Crust Pizza
The Costco Kirkland Signature Cauliflower Crust Pizza presents a unique baking experience compared to traditional pizzas. It’s designed as a convenient‚ healthier alternative‚ particularly appealing to those seeking gluten-free or lower-carb options.
These pizzas arrive frozen and require specific preparation to achieve optimal results. Unlike conventional pizzas‚ the cauliflower crust benefits from a pre-bake to ensure structural integrity and prevent sogginess. The crust itself is relatively thin and can be prone to dripping during baking‚ necessitating careful consideration of oven placement.
Understanding that the crust is pre-made from cauliflower means it won’t behave exactly like a dough-based pizza. It requires a slightly different approach to baking‚ focusing on achieving a golden-brown exterior while maintaining a pleasant texture. The two main varieties‚ Supreme and Deluxe‚ share similar baking guidelines‚ though individual preferences may necessitate minor adjustments.
Overview of Varieties Available (Supreme‚ Deluxe)
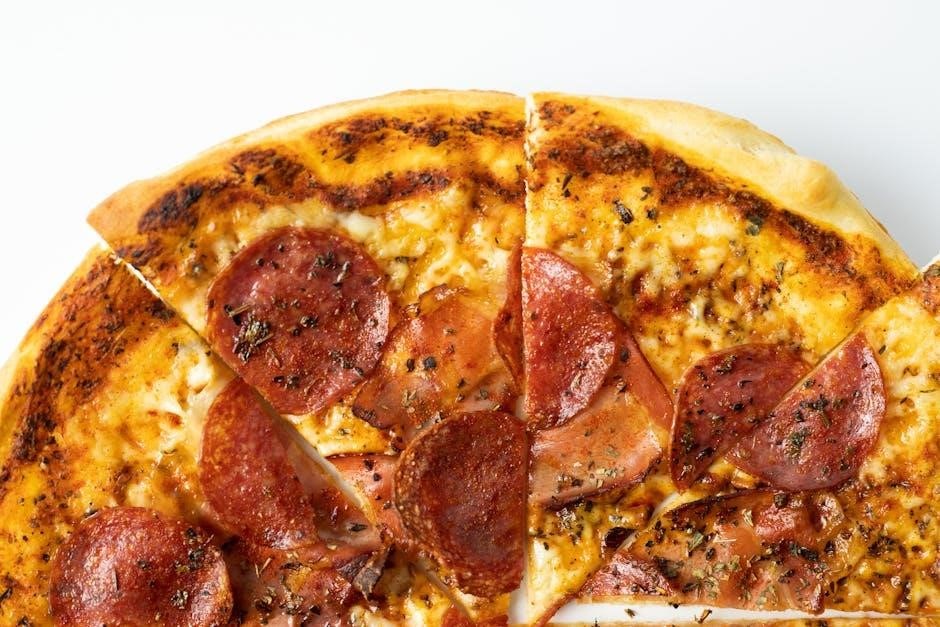
Costco currently offers two primary varieties of their Cauliflower Crust Pizza: the Supreme and the Deluxe. The Supreme typically features a classic topping combination including pepperoni‚ sausage‚ mushrooms‚ green peppers‚ and onions‚ providing a robust and savory flavor profile. It’s a popular choice for those who enjoy a traditional pizza experience.
The Deluxe variety offers a slightly different blend‚ often incorporating ingredients like cooked chicken‚ spinach‚ roasted red peppers‚ and a blend of cheeses. This option caters to those seeking a lighter‚ more vegetable-forward pizza. Both varieties come with two individual pizzas per package‚ offering convenience and value.
While the toppings differ‚ the cauliflower crust itself remains consistent between the Supreme and Deluxe options. Therefore‚ the baking instructions outlined are generally applicable to both‚ though topping density might slightly influence the second bake time. Both are designed for direct oven rack baking;
Nutritional Information and Dietary Considerations
Costco’s Cauliflower Crust Pizza is marketed as a healthier alternative to traditional pizzas‚ primarily due to its lower carbohydrate content and gluten-free crust. However‚ it’s important to review the nutritional information carefully. Each serving (typically ¼ of a pizza) contains a moderate amount of calories‚ fat‚ and sodium.
The cauliflower crust contributes fiber‚ but the overall nutritional profile is still influenced by the toppings and cheese used. Individuals monitoring their carbohydrate intake or following a gluten-free diet will find this pizza a suitable option. It’s also a consideration for those seeking alternatives to wheat-based crusts.
However‚ it’s not necessarily a “low-calorie” food. Consumers should be mindful of portion sizes and consider adding extra vegetables to boost the nutritional value. Always check the packaging for the most up-to-date and detailed nutritional facts.

Preparing the Pizza for Baking
Before baking‚ remove all packaging – plastic wrap and cardboard. You can bake directly on the oven rack or utilize a baking tray for easier handling.
Removing Packaging and Initial Preparation
The first step towards enjoying your Costco Cauliflower Crust Pizza is complete removal of all packaging materials. Carefully unwrap the pizza‚ discarding the plastic wrap and the cardboard base it rests upon. It’s crucial to ensure no plastic remnants remain‚ as these could melt during baking and affect the flavor or potentially cause a safety hazard.
Once unwrapped‚ assess the pizza. Some users prefer to gently pat the crust dry with paper towels to remove any excess moisture‚ potentially contributing to a crispier bake. However‚ this isn’t strictly necessary. Consider whether you’ll be baking directly on the oven rack or using a baking sheet – this decision impacts the next stage of preparation. Preparing a baking sheet with parchment paper can also be helpful for easy cleanup.
Remember‚ the pizza arrives frozen‚ so avoid attempting to separate the toppings from the crust at this stage. Initial preparation is simply about getting the pizza ready for the oven!

Baking Directly on the Oven Rack vs. Using a Tray
A key decision in preparing your Costco Cauliflower Crust Pizza is whether to bake it directly on the oven rack or utilize a baking tray. Baking directly on the rack‚ as recommended by some sources‚ promotes even heat distribution and potentially a crispier crust. However‚ be prepared for potential dripping – a common issue with this pizza!
Using a baking tray offers a mess-free solution. It catches any melted cheese or sauce that drips‚ simplifying cleanup. However‚ it may result in a slightly less crispy crust compared to direct rack baking. Placing parchment paper on the tray further eases cleanup and prevents sticking.
Consider your oven and comfort level. If you’re concerned about messes or have a self-cleaning oven‚ a tray is ideal. If you prioritize maximum crispness and don’t mind a potential cleanup‚ the rack is a viable option. Many users place a baking tray on a lower rack to catch drips even when baking on the main rack.
Preheating Oven Temperature: Recommended Ranges (400°F ౼ 425°F)
Achieving the ideal temperature is crucial for perfectly baking your Costco Cauliflower Crust Pizza. Recommendations vary slightly‚ but a range of 400°F to 425°F consistently appears as the sweet spot. Some sources specifically suggest 425°F for initial baking‚ while others lean towards 400°F for a more gradual cook.
The optimal temperature often depends on your oven’s calibration. Older ovens may require a slightly higher temperature‚ while newer‚ more accurate ovens might perform best at the lower end of the range. It’s wise to start with 425°F and monitor the crust closely.
Proper preheating is equally important. Ensure your oven reaches the desired temperature before placing the pizza inside. This guarantees even cooking and helps the crust achieve its desired texture. Consistent temperature throughout the baking process is key to avoiding a soggy base.
Baking Instructions: Step-by-Step
Begin by baking the crust alone for 18-20 minutes. Next‚ add your desired toppings and return it to the oven for an additional 10 minutes.

Initial Bake: Crust Only (18-20 Minutes)
The first baking stage is crucial for achieving a structurally sound and slightly crispy cauliflower crust. Preheat your oven to the recommended temperature‚ typically between 400°F and 425°F‚ depending on your oven and desired crispness. Remove all packaging – plastic wrap and cardboard – from the pizza.
Place the frozen cauliflower crust directly onto the oven rack. Some users recommend placing a baking tray on the rack below the pizza to catch any potential drips‚ especially with the Supreme variety. Bake for 18 to 20 minutes. This initial bake isn’t about fully cooking the pizza; it’s about setting the crust and preventing a soggy final product.
Monitor the crust during baking. It should begin to firm up and lightly brown around the edges. This pre-baking step is essential before adding toppings‚ as the cauliflower crust can become easily saturated and lose its texture if toppings are applied too early.
Adding Toppings and Second Bake (10 Minutes)
Once the crust has undergone its initial bake‚ it’s time to unleash your culinary creativity with toppings! Carefully remove the partially baked crust from the oven. Now‚ evenly distribute your desired toppings across the surface. Remember‚ the crust is already partially cooked‚ so avoid overloading it with heavy‚ moisture-rich ingredients‚ which could lead to sogginess.
Return the topped pizza to the oven for a second bake of approximately 10 minutes. This final bake melts the cheese‚ cooks the toppings‚ and further crisps the crust. Continue to monitor closely‚ adjusting the baking time slightly based on your oven and the type of toppings used.
Look for bubbly‚ golden-brown cheese and heated-through toppings as indicators of doneness. A final check to ensure the crust is firm and golden brown will guarantee a satisfying pizza experience.
Adjusting Baking Time Based on Oven Type
Baking times can vary significantly depending on your oven’s characteristics. Conventional ovens may require slightly longer baking times compared to convection ovens. Convection ovens circulate hot air‚ leading to more even and faster cooking; reduce the initial crust bake time by a few minutes and monitor closely.
If you’re using a Brava oven‚ as some users report‚ specific settings and tray placement are crucial – utilizing the metal tray and bottom shelf with the green start button. For standard ovens‚ consistently check the pizza’s progress. If the crust isn’t golden brown after the recommended time‚ add a few more minutes.
Remember that oven calibration can differ‚ so a little experimentation may be needed to find the sweet spot for your appliance. Always prioritize a fully cooked‚ crispy crust and heated toppings.

Troubleshooting Common Issues
Common problems include dripping‚ a soggy crust‚ or uneven browning. Utilizing a baking tray prevents messes‚ while adjusting bake times ensures a perfectly crisp and golden result.
Preventing Pizza from Dripping (Using a Baking Tray)
A frequent concern with the Costco cauliflower crust pizza is potential dripping during baking. The pizza’s toppings and the cauliflower crust itself release moisture as it cooks‚ which can create a mess in your oven. Several sources confirm this is a common occurrence.
To mitigate this‚ placing a baking tray on the rack below the pizza is highly recommended. This acts as a catch-all for any drippings‚ protecting your oven’s heating element and simplifying cleanup. Costcuisine specifically mentions successfully using this method‚ noting they were “glad” they had a tray underneath.

While some instructions suggest baking directly on the oven rack‚ the risk of dripping remains. Using a baking tray provides peace of mind and prevents potential oven damage or lingering odors. It’s a simple preventative measure that can significantly improve your overall pizza-making experience with this particular product.

Achieving a Golden-Brown Crust
Many users desire a beautifully golden-brown crust when baking their Costco cauliflower pizza‚ and achieving this requires attention to baking time and temperature. The crust‚ being cauliflower-based‚ doesn’t brown in the same way as traditional dough‚ so adjustments are often needed.
Initial baking of the crust alone for 18-20 minutes at 400°F is a crucial first step‚ as highlighted in various sources. This pre-bake helps to firm up the crust and prepare it for toppings. Following this‚ a second bake of approximately 10 minutes after adding toppings is recommended.
If your oven runs cool‚ increasing the temperature to 425°F can promote better browning. Keep a close watch to prevent burning. Experimenting with slightly longer baking times‚ while monitoring closely‚ can also help achieve the desired color and crispness. Remember‚ oven types vary‚ so adjustments may be necessary.
Dealing with a Soggy Crust
A common concern with Costco’s cauliflower crust pizza is the potential for a soggy bottom. This is due to the higher moisture content of the cauliflower crust compared to traditional pizza dough. Several strategies can mitigate this issue and ensure a crispier result.
The most effective preventative measure is baking the pizza directly on the oven rack. However‚ as noted in reviews‚ this often leads to dripping. Therefore‚ placing a baking tray on the rack below the pizza is highly recommended to catch any melted cheese or sauce.
Pre-baking the crust for a longer duration – even up to 20 minutes – can help remove excess moisture. Avoid overloading the pizza with overly wet toppings. If using vegetables‚ consider pre-cooking them to reduce their water content. Finally‚ ensuring the oven is properly preheated to 400-425°F is vital for a crisp base.
Advanced Techniques & Customization
Elevate your Costco cauliflower pizza! Pre-bake for extra crispness‚ experiment with gourmet toppings‚ and discover optimal freezing/reheating methods for a customized experience.
Pre-Baking the Crust for Extra Crispness
Achieving a truly crispy cauliflower crust often requires a pre-baking step. While the standard instructions allow for baking with toppings immediately after removing packaging‚ many users find the crust benefits from initial baking alone. This process helps to remove excess moisture and solidify the structure before the weight of toppings is added.
To pre-bake‚ simply place the frozen cauliflower crust directly on the oven rack (or a parchment-lined baking sheet‚ though rack baking yields crispier results) and bake at 400°F ౼ 425°F for approximately 18-20 minutes. Monitor closely‚ as oven temperatures can vary. The goal is to lightly golden the crust without fully cooking it through.
Following pre-baking‚ proceed with adding your desired toppings and return the pizza to the oven for the second bake‚ typically around 10 minutes‚ or until the toppings are heated and the cheese is melted and bubbly. This two-step approach significantly reduces the risk of a soggy crust and delivers a more satisfyingly crunchy texture.
Topping Suggestions and Combinations
The versatility of Costco’s cauliflower crust pizza allows for endless topping possibilities! While the Supreme and Deluxe varieties offer pre-selected combinations‚ don’t hesitate to customize. Consider lighter toppings to avoid overwhelming the crust – remember it’s more delicate than traditional dough.
Classic combinations like pepperoni and mozzarella‚ or a Margherita with fresh basil and sliced tomatoes‚ work beautifully. For a gourmet twist‚ try roasted red onion‚ garlic‚ Swiss cheese‚ and a vibrant tomato sauce. Experiment with Mediterranean flavors: spinach‚ feta‚ olives‚ and sun-dried tomatoes.
To prevent sogginess‚ sauté vegetables beforehand to release excess moisture. Avoid overly wet sauces. A sprinkle of Italian seasoning or red pepper flakes adds extra flavor. Remember‚ less is often more when it comes to toppings on a cauliflower crust‚ ensuring a balanced and delicious pizza experience.
Freezing and Reheating Instructions
Extending the life of your Costco cauliflower crust pizza is easy with proper freezing techniques. Allow the pizza to cool completely‚ then wrap it tightly in plastic wrap‚ followed by a layer of aluminum foil. This prevents freezer burn and maintains quality. It can be frozen for up to two months.
When reheating‚ preheat your oven to 350°F (175°C). Place the frozen pizza directly on the oven rack (or a baking sheet for extra precaution against drips) and bake for approximately 15-20 minutes‚ or until heated through and the cheese is melted and bubbly.
For a crispier crust‚ consider briefly broiling the pizza for the last few minutes‚ watching carefully to prevent burning. Avoid microwaving‚ as it can result in a soggy crust. Reheating directly from frozen is recommended for best results‚ preserving the texture and flavor.